How to make tutorial videos for your product, one task at a time
A good product tutorial teaches one task, starts where the viewer is stuck and ends on the result. None of that needs a studio or a video editor; it needs a decision about the task and twenty minutes of preparation.
By the VeoRec team · · 11 min read
In short
To make tutorial videos people finish, teach one task per video and decide the finish line before you record. Write a short bullet script (hook, starting point, steps, result), prepare a clean demo account and a readable screen, then record in one take while naming each click. Trim the edges, cut mistakes, add captions and a title in the customer's words, and publish it next to the written steps where people get stuck.
- One task per video, named as a verb: "Invite a teammate", not "Team settings overview".
- Write a bullet script of hook, starting point, steps and result; it doubles as the written version.
- Record in a demo account at a readable zoom level, in a single tab, with notifications off.
- Say what you click before you click it and pause on each new screen.
- Edit for clarity, not polish: trim the edges, cut mistakes, remove long silences, blur anything private.
- Publish the video next to the written steps, in the place people get stuck, with captions on.
If you have been asked to figure out how to make tutorial videos for your product, you have probably watched a few bad ones for research: a five minute intro, a cursor darting around a cluttered screen, a voice saying "and then you just click here" without saying where "here" is. The good news is that the good ones are not made with expensive gear. They are made with a clear decision about what the video teaches and a bit of preparation.
What follows assumes the most common kind: a screen recording of your product with your voice over it, between one and three minutes long, teaching one thing. The order matters more than the tools. Choose the task, script it in bullets, prepare the screen, record, cut only what gets in the way, caption and title it, publish it where people get stuck, and watch a newcomer try to follow it.
Pick one task and write the finish line first
The most common reason tutorials run long is that they try to teach an area of the product instead of a task. "Reports overview" has no natural end; "Schedule a weekly report by email" does. Name every tutorial as something the viewer will have done when it ends.
Before you open anything, write one sentence that starts with "By the end, you will have...". For example: "By the end, you will have a sales report that arrives in your inbox every Monday at 9." That sentence is your finish line. Anything in the recording that does not move the viewer toward it gets cut, however interesting it is.
Tasks that are too big for one video show themselves at this stage. If the finish line needs an "and" ("you will have connected your store and set up tax rules and imported products"), it is three tutorials. Shorter is not only tidier: a study of 6.9 million edX video sessions found that shorter videos were much more engaging and recommended keeping chunks under six minutes, and that people use tutorials differently from lectures, rewatching and skimming them while they work (Guo, Kim and Rubin, 2014). For a single product task, one to three minutes is usually right.
Know where the viewer starts and where they get stuck
A tutorial is only useful if it starts where the viewer is. Two questions settle most of this.
- What do they need before step one? A plan level, an admin role, a connected account, a file ready to import. Say it in the first ten seconds so nobody gets halfway and discovers they cannot finish.
- Where do people go wrong? Ask support. They will tell you the exact step where tickets come from: the toggle that is off by default, the field that needs a specific date format, the button that only appears after saving. Spend more time on that step than on the easy ones.
Support tickets are the best source of tutorial topics too. If a question arrives every week, it deserves a tutorial; if it arrives twice a year, a written answer is enough. Building a library of reusable support videos explains how to pick topics from your ticket history.
Write a bullet script, not a speech
Word-for-word scripts make most people sound like they are reading, because they are. No script at all makes most people ramble. The middle ground is a bullet script: a few words per beat, in the order you will show them. It also becomes the written steps that go under the video, so the work is not wasted.
- Hook (one sentence). What the viewer will be able to do: "This is how to get your sales report emailed to you every Monday."
- Starting point (one or two sentences). Where we begin and what they need: "You need the Business plan and access to Reports. We start on the Reports page."
- Steps (one bullet each). The click and the reason, if the reason is not obvious: "Open the saved report. Click Schedule, top right. Pick weekly, Monday, 9:00."
- Result (one sentence). What success looks like: "You will get a confirmation email now, and the first report on Monday."
- Next step (optional, one sentence). "To send it to your team as well, see the tutorial on sharing reports."
Try it here. Type your hook, the context and the ask (for a tutorial, the "ask" is the result and next step), and check the speaking time. If the spoken part of your script runs past three minutes, look for a second task hiding inside the first.
The opening deserves extra care, because it decides whether people keep watching. Compare a typical opening with a better one for the same tutorial.
For more on scripting without sounding scripted, see how to script a screen recording.
Prepare the account and the screen
Ten minutes of preparation saves most of the editing. The goal is a screen where the only thing to look at is the task, at a size people can read on a laptop.
| Setting | What to do | Why |
|---|---|---|
| Account | A demo account with realistic sample data | Real customer data must never appear; empty accounts make features look broken. |
| What you record | One browser tab or one window, not the whole screen | Hides other tabs, desktop files and notifications. |
| Browser zoom | 110 to 125 percent for dense apps | Text stays readable when the video is watched in a small player. |
| Window size | A 16:9 window, recorded at 1080p | Fills the player without black bars; 1080p keeps small text sharp. |
| Bookmarks and extensions | Hide the bookmarks bar and pin only what you need | Removes clutter and personal links from the top of every frame. |
| Notifications | Turn on do-not-disturb for the OS and chat apps | A pop-up with a colleague's message ruins a take and can leak information. |
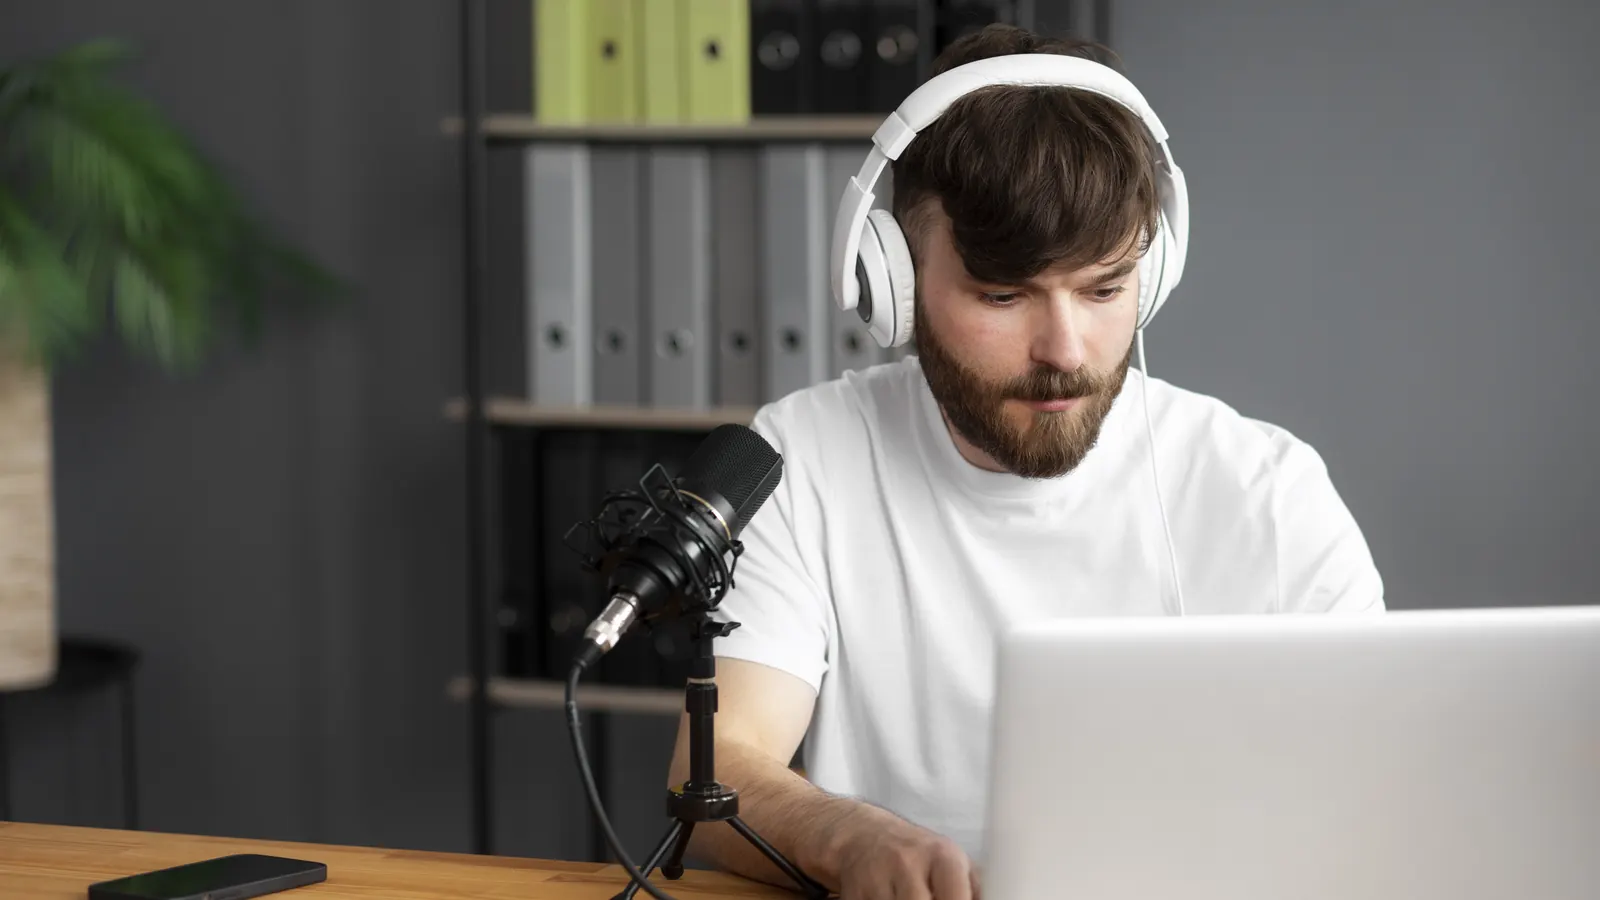
| Microphone | A headset or a mic close to your mouth, in a quiet room | Clear audio matters more than sharp video for a tutorial. |
Reset the demo account between takes so the starting point is always the same: delete the report you scheduled in the last take, clear the form you filled in. A starting screen that differs from the viewer's is confusing. For audio, the cheapest upgrade is distance: a microphone a hand's width from your mouth, in a room with soft furnishings, beats an expensive mic across the desk in an echoing office.
Record in one take, naming every click
Most people over-edit because they under-practice. Do one dry run without recording, following the script, then record. If something goes wrong in the first thirty seconds, restart; if it goes wrong later, pause, go back to a clean point and continue, and cut the mistake afterwards.
- Say the hook and the starting point While the starting screen is visible and still. Do not move the cursor yet; let the viewer find their bearings.
- Name the click, then make it "Click Schedule, in the top right corner." Saying it first gives the viewer time to find it on their own screen, which is exactly what they will be doing.
- Move the cursor slowly and deliberately Go straight to the target and stop on it for a beat before clicking. Circling the cursor around a button makes it harder to follow, not easier.
- Pause on every new screen When a page or dialog opens, give it a second before talking about it. Viewers need a moment to see where they are.
- Spend time on the step where people go wrong Slow down for the default-off toggle or the fussy date format. Say why: "This is off by default, so turn it on or nothing will send."
- End on the result and stop Show the confirmation, the saved setting or the finished output, say the result sentence, and stop recording. No "so yeah, that's about it".
Tools can help with the parts that are hard to say. Click highlights make each click visible, which matters when the target is small. Drawing on the screen lets you circle the setting people miss. In VeoRec, drawings stay attached to the element you drew on as the page scrolls, so an arrow pointing at a button keeps pointing at it. You can also drop chapter markers with the M key as you reach each step, which pays off for anything longer than a minute.
Edit for clarity, not polish
Editing a tutorial is mostly removing things. Each cut should make the task easier to follow; anything else is decoration.
- Trim the start and end. The seconds where you reach for the stop button or say "okay" before starting are the most noticeable flaw in amateur tutorials.
- Cut mistakes and dead ends. If you opened the wrong menu, cut back to before you did.
- Shorten long waits. A ten second spinner while a report generates can be cut to one second, with a word: "after a moment, it appears".
- Remove long silences. Short pauses help comprehension; long ones feel like the video froze.
- Blur anything private. An email address in a corner, an API key in a settings field, a real customer name in a list.
- Add a text overlay for values people must type. A date format, a code or a URL is easier to copy from text than from speech.
Skip background music under narration, or keep it very quiet. W3C guidance on accessible media recommends that background sound sit at least 20 decibels below speech (W3C WAI, Audio Content and Video Content), and for a tutorial the voice is the content. VeoRec's browser editor covers the list above: trim, split, cut, remove silences, blur boxes, text overlays and optional music, without exporting to another app. Whatever tool you use, watch the edited version once at normal speed before publishing: cuts that looked clean on the timeline sometimes clip the first word of a sentence.
Add captions, a title and a thumbnail
Captions are not optional. Some viewers are in an open office with the sound off, some are deaf or hard of hearing, and some understand written English better than spoken English. Most tools now generate captions automatically; read them before publishing, because automatic captions get product names, numbers and jargon wrong, and a wrong number in a tutorial is a support ticket. Screen recording accessibility covers captions, transcripts and contrast in detail.
The title should be the task in the customer's words: "Schedule a report to arrive by email every week". Not "Reports: scheduling" and not "Tutorial 14". Use the words customers use in tickets and searches, which are not always the words in your interface.
The thumbnail should show the screen where the task happens, ideally with the result visible, so people can tell at a glance it is the right video. A face and a big headline work for marketing videos; for a tutorial, recognizable product screens do more. If you publish a series, keep thumbnails consistent so people know they are in the right set.
Publish it where people get stuck
A tutorial that sits on a video page nobody visits helps nobody. Put it where the question arises.
- In the help center, embedded at the top of the matching article, with the written steps underneath. The Nielsen Norman Group found that videos at the top of a page were the most discoverable and the most likely to be watched, and that video should never be the only source of the answer (Videos as Instructional Content).
- In the product, linked from the empty state or the settings screen where people get stuck: "New to scheduling? Watch the 2 minute tutorial."
- In support replies, as a saved reply with the written steps and the link.
- In onboarding emails, one tutorial per email, matched to what a new customer does in that week.
Show the length next to every link and embed. "2 min" makes people far more willing to click than a mystery. If your recording tool gives you embed code and a plain share link, use the embed in the help center and the link everywhere else. With VeoRec, viewers need no account to watch a shared link, and the embed code goes into any help center editor that accepts embeds. Knowledge base videos covers embedding, placement and transcripts for search.
Test it on someone who has never done the task
You cannot judge your own tutorial, because you already know the task. Before publishing, ask someone who has never used the feature (a new colleague, someone from another team) to follow the video in a demo account while you watch silently.
- Where do they pause the video? That step needs to be slower or clearer.
- Where do they rewind? Something was said too fast or shown too briefly.
- Where do they look for something on their screen and fail? Name the location more precisely.
- Do they reach the finish line? If not, the tutorial is not done.
One test usually finds two or three fixes. Most of them are one-sentence changes you can make by re-recording a single step and splicing it in, rather than redoing the whole video.
A typical result, from the weekly report tutorial used as the example here: the tester pauses at 0:40, scrolls around the report and cannot find Schedule. The recording showed the button, but the tester's report was unsaved, and the button only appears after the first save. The author knew that so well that she never said it. The fix is one sentence in the starting point ("Save the report first; Schedule only appears on saved reports") and one line in the written steps. Without the test, that sentence would have been discovered by a few dozen customers, one ticket at a time.
Watch for the opposite problem too. If the tester is clicking ahead of the narration and waiting for you to catch up, the pace is too slow for this task, and the next version can drop a pause or two. People following a tutorial are doing the task with you; the right speed is the speed at which their hands keep moving.
Keep a tutorial series consistent and current
Once you have more than a handful, consistency starts to matter. Use the same demo account, the same browser zoom and window size, the same opening pattern ("This is how to...") and the same naming. Viewers who have watched one tutorial then know how to watch the next one.
Product tutorials go out of date with every redesign. Keep a list of tutorials with the product area each one covers and the date it was recorded, and check the affected ones whenever a release touches that area. Re-record the single step that changed when you can; re-record the whole video when the starting screen looks different, because a mismatched first screen makes viewers think they are in the wrong place.
What to do next
Pick the one task your support team explains most often. Write its finish line and a bullet script today, set up the demo account using the checklist, and record it in one take tomorrow. Trim the edges, check the captions, title it in the customer's words, and put it at the top of the matching help article with the written steps underneath. Then ask a new colleague to follow it while you watch.
After the first one, the rest go faster: the account is set up, the browser is configured and you know your own pacing. Five well-made tutorials on the most asked tasks will do more for your customers than fifty on everything the product can do.
Record your first tutorial in a browser tab VeoRec records a tab or window with your voice, adds captions and a transcript automatically, and lets you trim, cut silences and blur in the browser before sharing a link or embed. Try the Chrome screen recorder
Frequently asked questions
How long should a product tutorial video be?
One to three minutes for a single task is a good target. Research on online instructional video found engagement dropped sharply for longer videos and recommended chunks under six minutes. If your tutorial runs longer, check whether it is really two tasks and split it.
Do I need special equipment to make tutorial videos?
No. A laptop, a browser-based screen recorder and a headset or a microphone close to your mouth are enough. Audio quality matters more than video quality for tutorials, so a quiet room and a decent mic are the best investments if you want to improve.
Should I write a full script for a tutorial?
A bullet script works better for most people: the hook, the starting point, one bullet per step and the result. It keeps you on track without making you sound like you are reading. The same bullets become the written steps under the video.
Should my face be in a tutorial video?
Usually not for short task tutorials, where the screen is what matters and a camera bubble can cover controls. A face helps for welcome videos and longer explanations where you are building trust. If you include one, keep it small and in a corner away from the buttons you click.
How do I make my tutorial videos accessible?
Add accurate captions, describe what you click by name rather than saying "click here", keep text on screen readable, avoid loud background music, and publish the written steps alongside the video. Those steps also help people who prefer to read and make the content searchable.
How often should tutorial videos be updated?
Whenever the product changes in the area they cover. Keep a list of tutorials with their product area and recording date, and check the affected ones on each release. Re-record the whole video if the starting screen looks different, since a mismatched first screen confuses viewers immediately.