How to sound good on recordings with the microphone you already have
Bad recording audio is rarely the microphone's fault. The usual culprits are the room, the distance and the level, and all three can be fixed with what is already on your desk. A new microphone comes last.
By the VeoRec team · · 12 min read
In short
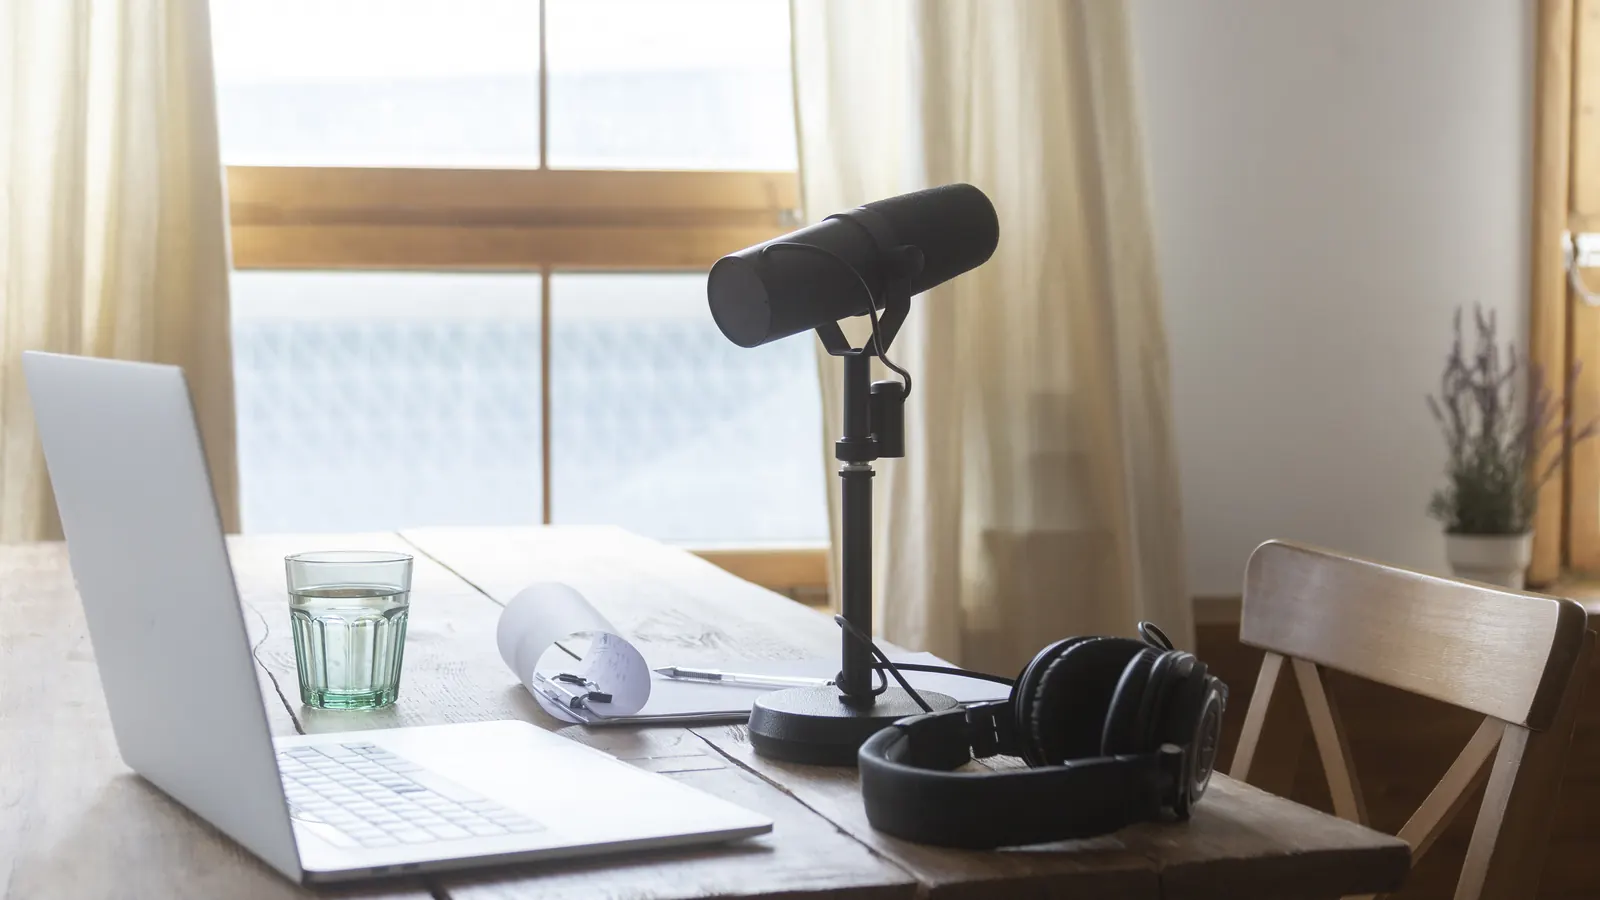
To sound good on recordings, fix the room, the distance and the level before you think about gear. Record in a small room with soft furnishings, get the microphone much closer to your mouth than a laptop allows, and set the input so loud words never hit the top of the meter. Remove noise at its source, test with a ten second clip on headphones, and only then decide whether a better microphone would help.
- Echo from a bare room hurts more than a cheap microphone. Record where there are curtains, a rug, a sofa or a full bookcase.
- Distance is the biggest free upgrade. Each time you halve the distance to the mic, your voice gets about 6 dB louder while the room stays the same.
- Set your input so your loudest words stay well below the top of the meter. Clipped audio cannot be repaired later.
- Turn off the noise rather than filtering it: fans, notifications, typing while talking, the laptop fan right under a built-in mic.
- Use noise suppression lightly and only in one place; stacked processing makes voices sound underwater.
- Test with a ten second recording on headphones before anything important. It catches the wrong microphone, echo and low levels.
A slightly soft frame in a screen recording is still watchable. A voice that echoes, hisses, pumps up and down or crackles on every loud word is not: people reach for the captions or close the tab. You can sound good on recordings with the microphone you already have, because most bad audio comes from three things that cost nothing to fix. They are the room, the distance between your mouth and the microphone, and the input level.
Fix them in that order; the room and the distance usually account for most of the difference. After that come noise and processing, a thirty second test, and only then the question of spending money. One example runs through the middle of this piece: a laptop on a kitchen table, which is where a lot of work recordings actually get made.
Fix the room before you touch any settings
In a lot of work recordings, the real problem is not noise. It is echo, or more precisely reverberation: your voice bouncing off bare walls, a desk, a window and a hard floor, and arriving at the microphone a few milliseconds late, many times over. It makes speech sound distant and hollow, like a call from a bathroom. No setting removes it cleanly once it is recorded.
Rooms with lots of hard, flat surfaces are the worst: kitchens, empty spare rooms, meeting rooms with glass walls, a new flat before the furniture arrives. Rooms full of soft and irregular things are the best: a bedroom with curtains and a bed, a living room with a sofa and a rug, a study with full bookshelves.
A quick test: stand where you record and clap once, sharply. If you hear a ring or a flutter after the clap, the room will be audible on your recording. Things that help, roughly in order of effort:
- Move. Record in the softest room you have. The bedroom often beats the home office.
- Face into the room, not into a wall. Your voice hits the surface in front of you first; a bookshelf or curtain there helps more than one behind you.
- Add soft things near you. Close the curtains, put a throw or a cushion on the desk in front of the laptop, hang a coat on the chair behind the monitor.
- Shrink the space. For recordings where sound really matters, a walk-in wardrobe full of clothes is a surprisingly good booth.
Shure's guide to microphone techniques for recording makes the related point in its advice for spoken word: keep the microphone away from reflective surfaces, because reflections from hard surfaces such as tabletops can spoil the sound it captures. A laptop on a bare desk is a microphone sitting right on a reflective surface.
Get the microphone closer to your mouth
Distance is the biggest free upgrade in recording, and it is the reason a cheap headset often sounds better than an expensive laptop. The physics is simple. Direct sound from your mouth gets weaker with distance; the reverberant sound of the room stays at roughly the same level everywhere in it. Moving the microphone closer raises your voice relative to the room.
How much? The Shure guide gives the rule: each time the distance from a sound source doubles, its level drops by 6 dB, and each time the distance halves, it rises by 6 dB. The same guide notes that a 3 dB change is noticeable and 6 dB is very noticeable. Here is what that means at a desk:
| Microphone | Typical distance from mouth | What it means |
|---|---|---|
| Laptop built-in mic | about 50 to 70 cm | Hears a lot of room and the laptop fan; voice sounds distant |
| Webcam mic on top of a monitor | about 60 to 90 cm | Often worse than the laptop: further away and aimed at the whole room |
| Desk USB microphone, left on the desk | about 40 to 60 cm | Better capsule, same distance problem; move it closer |
| Desk USB microphone on a stand near your chin | about 15 to 30 cm | Where the Shure guide recommends for spoken word |
| Wired earbuds with a mic on the cable | about 10 to 20 cm | Cheap and much closer than the laptop; can rub on clothing |
| Wired headset with a boom mic | a few centimetres | Little room sound; can pick up breathing if it sits in front of the mouth |
Going from 60 cm to 15 cm is two halvings, about 12 dB more voice compared with the room. That is the difference between "recorded in a hall" and "talking to you across a table", and it costs nothing if you already own a headset or can move a desk mic.
Do not overdo it with a directional desk microphone. The Shure guide warns that getting too close brings on the proximity effect, a boost in the bass that can make a voice muddy or boomy. Its advice for spoken word is 6 to 12 inches (about 15 to 30 cm), with the microphone placed a little below or above your mouth and pointed at it, which cuts down pops on plosives like "p" and "t".
Worked example: the kitchen table
Picture the setup: a laptop on a bare kitchen table, you about 60 cm from its built-in mic, glass doors to one side, a fridge humming behind you. The recording sounds like a call from a stairwell. Fix it in this order, with the arithmetic where there is some:
- Plug in the wired earbuds from the drawer. The mic on the cable hangs perhaps 15 cm below your mouth instead of 60 cm away. That is two halvings of distance, so about 12 dB more voice against the same room: the biggest single change, and it is free.
- Turn round so you face the room, not the glass. Your voice now hits the softer side of the room first.
- Put a folded tea towel under the laptop and close the door to the hallway. Less reflection off the table, less sound coming back from a bare corridor.
- Deal with the fridge. You cannot switch it off for long, but you can move away from it. By the same rule, every doubling of your distance from it takes about 6 dB off the hum that reaches the mic directly.
- Set the level and record ten seconds. Listen on headphones. If you still hear the room, the next step is a softer room, not software.
None of this needs a purchase, and the first step alone usually turns "stairwell" into "sitting across the table". Microphone distance does the heavy lifting; the rest is tidying.
Set your level so loud words never clip
Once the microphone is close, set how loud it records. There are two ways to get this wrong. Too low, and your voice is quiet and noisy when the viewer turns it up. Too high, and loud words hit the ceiling of the recording and distort: a harsh crackle on emphasised syllables and laughs. Too low can be partly rescued later. Clipped audio cannot; the information is gone.
The target is simple: speak at the volume you will actually use (a bit more energetic than you think, since recordings flatten energy) and set the input so the meter bounces in the upper middle and your loudest words stay clearly below the top. Leave room for the moment you laugh or stress a word.
If your editor shows the meter in decibels, the top is 0 dB and everything below it is a negative number. A rule of thumb many people who record speech use is to keep the loudest peaks somewhere around -12 to -6 dB. That leaves enough headroom for a laugh without leaving your voice so quiet that turning it up brings the hiss with it.
- On Windows: Settings, System, Sound, then select your microphone under Input to open its properties; there is an input volume slider and a test button that shows a level meter.
- On a Mac: System Settings, Sound, Input; choose the microphone and watch the input level while you talk.
- On the microphone itself: many USB mics have a gain knob. Use that first and leave the system slider near the middle.
While you are in those settings, check the input device. A very common audio failure in work recordings has nothing to do with quality: recording through the wrong microphone, such as the webcam across the room instead of the headset you are wearing. Your recorder's microphone menu should name the same device.
Remove noise at the source instead of filtering it
Every noise you stop before recording is one you do not have to fight with software. Walk through the usual suspects:
- Fans and air conditioning. Turn them off for the few minutes you record. A constant hum is easy to ignore in the room and very obvious on headphones.
- The laptop fan. A built-in mic sits centimetres from it. If the fan spins up while you record, an external or headset mic removes the problem.
- Notifications. Silence chat and email sounds, and put your phone face down on something soft, not on the desk next to the mic.
- Typing while talking. Keystrokes travel through the desk into a desk microphone and through the air into a laptop mic. Talk, then type, or keep typing to a minimum.
- Mouse clicks and the desk itself. A desk mic picks up every tap on the desk. A folded towel under the stand helps.
- Windows, doors and people. Close them, and tell the household you are recording for five minutes.
Wearing headphones while recording helps too. If sound from a video you are demonstrating, or a colleague on a call, comes out of your speakers, the microphone picks it up again a fraction of a second later, which sounds like an echo on the recording.
When the screen makes sound too
Some recordings need sound from the screen as well as your voice: a product demo with notification chimes, a video you are reviewing, a call you are walking someone through. Chrome's share dialog can include a tab's audio when you share a tab, and recorders that support it mix that audio with your microphone. Two problems come up.
The first is the echo described above, if the sound also plays out of your speakers. Headphones solve it. The second is balance: a demo video at full volume will drown out your explanation. Turn the tab's own volume down to well below your voice before you start, and stop talking while the important sound plays. Viewers can follow one audio source at a time, not two.
If the screen sound is not essential, leave it out entirely. A walkthrough of a settings page gains nothing from click sounds and notification pings, and the recording is cleaner without them.
Use noise suppression lightly, and in one place
Software noise suppression is good now, and for a constant hum or a busy street it can make a usable recording out of an unusable one. It is still a trade. The more aggressive it is, the more it eats into the voice: word endings get clipped, quiet syllables vanish, and speech takes on a slightly underwater, metallic quality.
There are several places this processing can happen. Browsers can ask for noise suppression, echo cancellation and automatic gain control on a microphone (these are standard audio constraints a web app can request). Some operating systems add their own: on a Mac, apps that support it show a Mic Mode menu with Voice Isolation. Headsets and USB microphones may process audio in their own hardware or companion apps.
Stacking these is where trouble starts: two noise suppressors in a row each remove a little of the voice, and the result sounds worse than either one alone. Pick one layer, usually the one closest to the microphone, and switch the others off. Then judge it on headphones with a short test, not by how quiet the room seems.
Automatic gain control deserves a note. It raises the level when you speak quietly and lowers it when you are loud, which is helpful on calls. On a recording it can make the room noise swell in every pause. If your recordings have a breathing, pumping background, try turning it off and setting the level by hand.
Work on the voice itself
Once the technical side is fine, the remaining difference is how you talk. You do not need a radio voice. You need to sound like someone explaining something to one colleague who is interested.
- Talk to one person. Picture the specific reviewer or teammate who will watch. "Hi everyone" voices are flatter and louder than "here is the thing I wanted to show you" voices.
- Sit up, or stand. A slumped chest gives a smaller, tighter voice. Recording standing, at a raised desk, often adds energy without any effort.
- Warm up for thirty seconds. Say the first two lines of your notes out loud before recording. The first sentence after an hour of silence is usually the croakiest.
- Keep water nearby. Dry mouths click and smack, and close microphones hear every one of them.
- Do not slow down on purpose. In a 2014 study of edX lecture videos, engagement generally rose with speaking rate, which the authors put down to enthusiasm rather than speed itself. Their advice was not to slow down artificially. Clear beats slow.
Most filler words and long pauses come from not knowing what comes next, not from your voice. A few lines of notes fix more of that than any vocal technique; see our guide to scripting a screen recording.
Run a thirty second sound check before anything important
Many ruined recordings could have been saved by a ten second test at the start. Before a client walkthrough, a long handoff or anything that would be painful to redo, run through this list. It remembers your ticks in this browser, so you can keep it open in a tab.
The playback step is the one people skip, and it is the one that matters. Your own voice sounds different inside your head; the only way to know what viewers hear is to listen to what the microphone heard, on headphones, at a normal volume.
Diagnose what you hear on playback
When a test or an old recording sounds off, the symptom usually points straight at the cause. Try matching these:
Clean up what is left in editing
Editing cannot rescue a clipped or echoey recording, but it can tidy a good one. The most useful edits for speech are also the simplest: trim the dead air at the start and end, cut a cough or a sentence you restarted, and remove long silences so the pace stays brisk. VeoRec's browser editor handles all of these (trim, split, cut and remove silences); our guide to editing screen recordings shows how.
If you add background music to a walkthrough, keep it well under the voice, and use it on intros or silent demo sections rather than under explanations. Music competing with speech is tiring to listen to, especially for viewers who are not native speakers.
Good audio also improves the text around a video. Automatic transcripts and captions are only as accurate as the sound they are made from; a close microphone in a quiet room gives clean captions, while a distant, echoey voice gives misheard words. In VeoRec's Chrome screen recorder every recording gets a transcript and captions automatically, so clear audio pays off twice: for the people who listen and for the people who read. For more on captions, see our guide to screen recording accessibility.
Buy a microphone only after the free fixes
If you have done all of the above and still are not happy, a microphone upgrade will now actually be audible. Bought first, it often is not: an expensive microphone in a bare room at arm's length sounds like a bare room at arm's length, in more detail.
For work recordings, two kinds of upgrade make sense:
- A wired headset with a boom microphone. Close to the mouth by design, stays in position when you turn your head, and you are wearing headphones anyway. The most forgiving choice for untreated rooms.
- A USB desk microphone on a short stand or arm. Better sound when placed within the 15 to 30 cm range. In practice, dynamic models tend to pick up less of the room than condenser models, which suits typical home offices; condensers can sound lovely in a quiet, soft room and harsh in a bare one.
Whichever you choose, the rules stay the same: close, a little below or above your mouth, level set by hand, room as soft as you can make it. And if your camera is on as well, the setup for that is in our guide to camera on or off.
Frequently asked questions
How do I make my laptop microphone sound better?
Get closer to it and record in a softer room. Raise the laptop on a stand or books so the mic is nearer your mouth, put something soft on the desk in front of it, close the curtains and turn off fans. If the laptop fan spins up during recording, a wired headset or external mic is the real fix.
How far should I be from my microphone when recording?
For a desk microphone, Shure's guide recommends about 15 to 30 cm (6 to 12 inches) for spoken word, placed a little below or above the mouth and pointed at it. Headset microphones are closer by design. A laptop mic at 50 cm or more will pick up much more of the room.
Why does my recording sound echoey?
Your voice is bouncing off hard surfaces like bare walls, windows, a desk and a hard floor, and the microphone is far enough away to hear those reflections. Move closer to the microphone and record in a room with curtains, a rug, a sofa or full bookshelves. Software rarely removes echo cleanly once it is recorded.
Should I turn on noise suppression when recording?
Use it when there is constant noise you cannot turn off, such as a street or a fan, and keep it to one layer. Stacking browser, operating system and microphone processing tends to make voices sound thin or underwater. Always compare a short test with and without it on headphones.
What input level should I record at?
Set the input so normal speech moves the meter into the upper middle and your loudest words stay clearly below the top. Distortion from a level that is too high cannot be repaired later, while a slightly low level can usually be raised without much harm.
Is it worth buying a microphone for work recordings?
Only after fixing the room, the distance and the level, which are free and make the largest difference. Once those are right, a wired headset with a boom mic or a USB desk microphone on a stand near your mouth is a clear, audible upgrade.